Your cart is currently empty!
Quick! Flash sale happening today!



Lightning deals
When you want to make your teeth feel cleaner than ever before
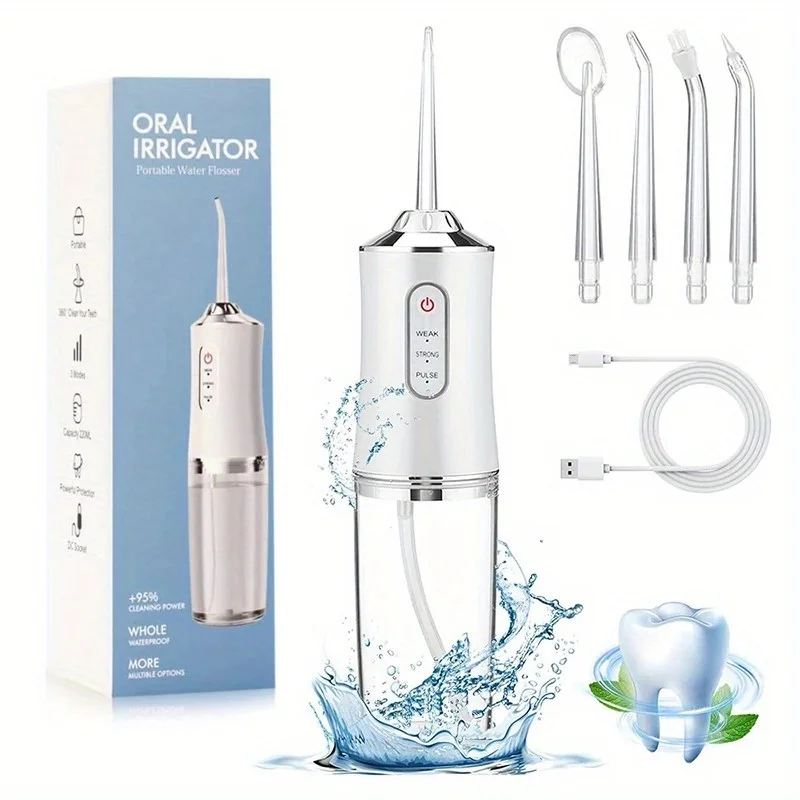
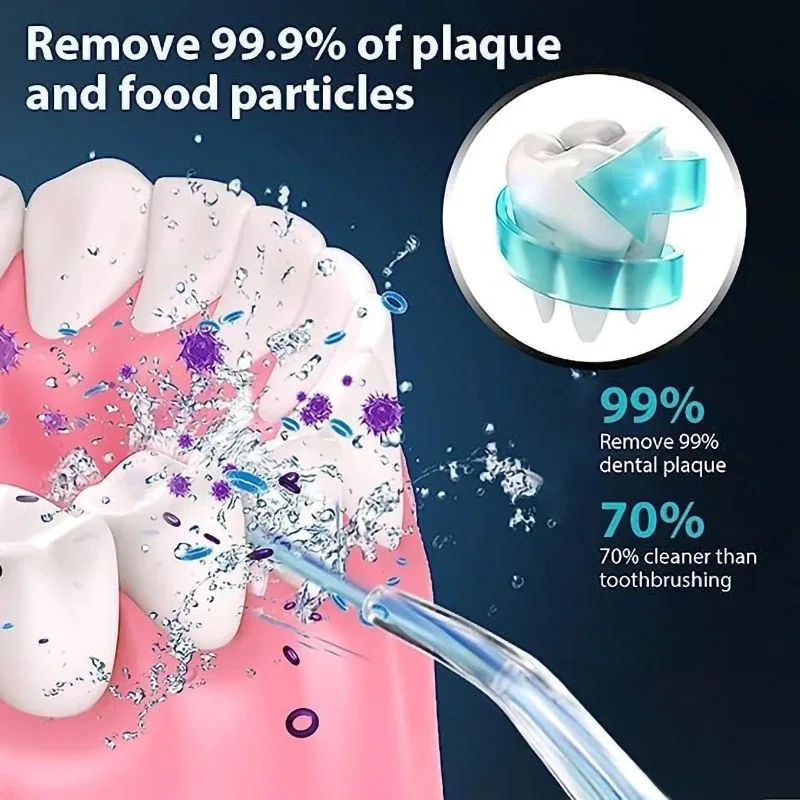
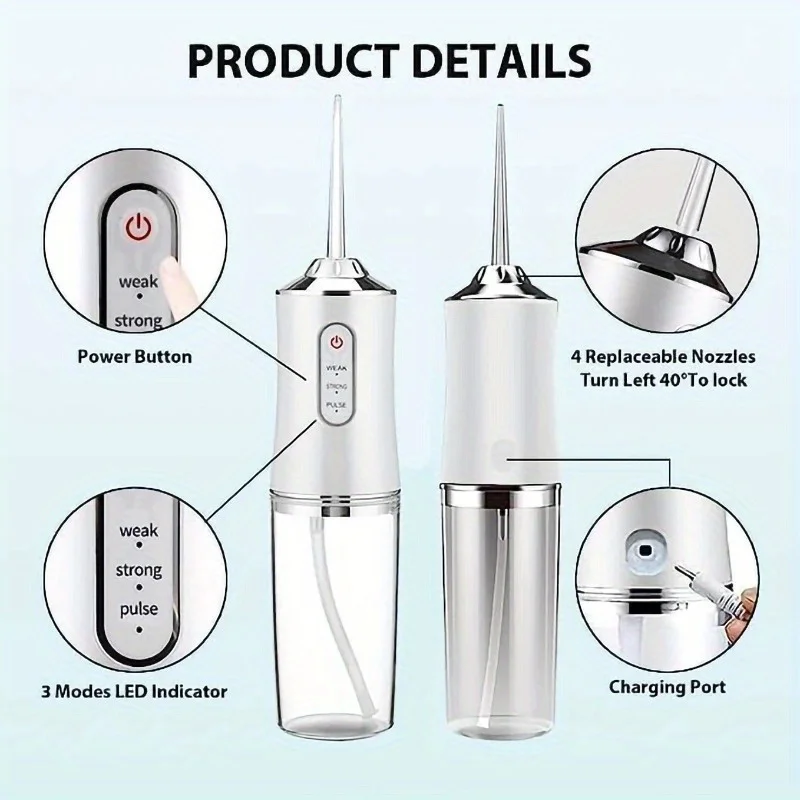
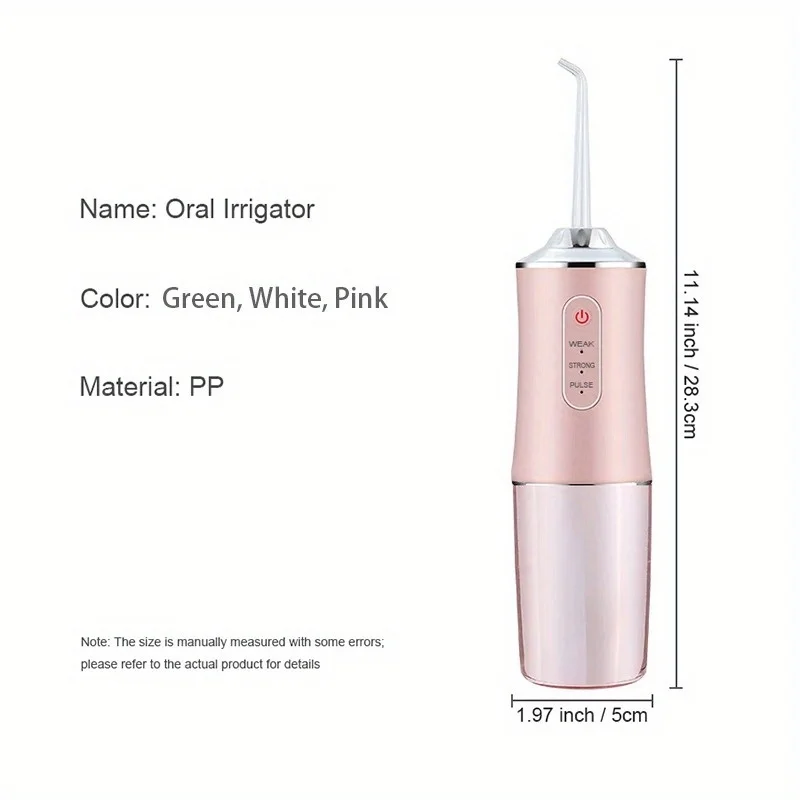
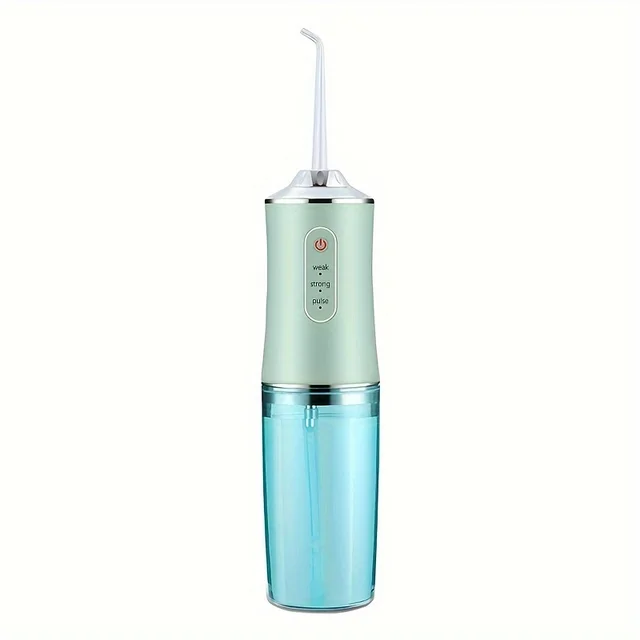
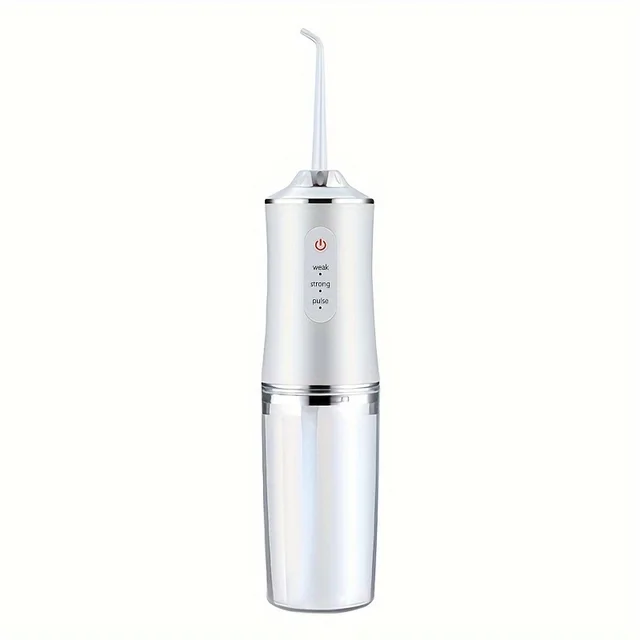
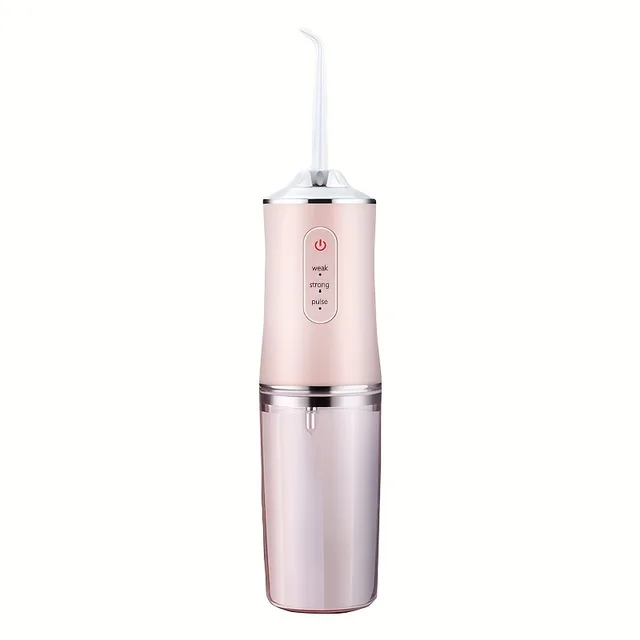
Achieve a cleaner, healthier smile with The Water Flosser. Engineered for exceptional oral care, this device effortlessly removes plaque and debris, helping reduce the risk of cavities and gum disease. Your smile deserves it.

No need to lie to your dentist anymore about whether you floss your teeth regularly. With the Water Flosser, 84% of people experienced a cleaner feeling in their mouth and teeth.
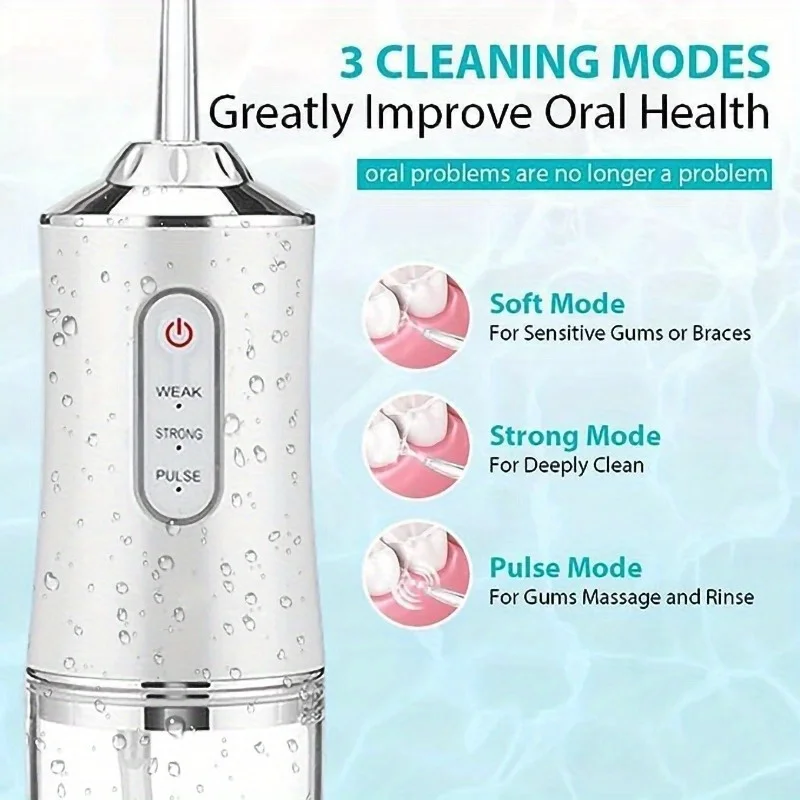
Do you hate it when your gums start bleeding with traditional string floss? We hated that too, which is why the Water Flosser features different water pressure levels, allowing you to start soft and gentle while still protecting your gumline from bacteria.
1. Fill with water or mouthwash
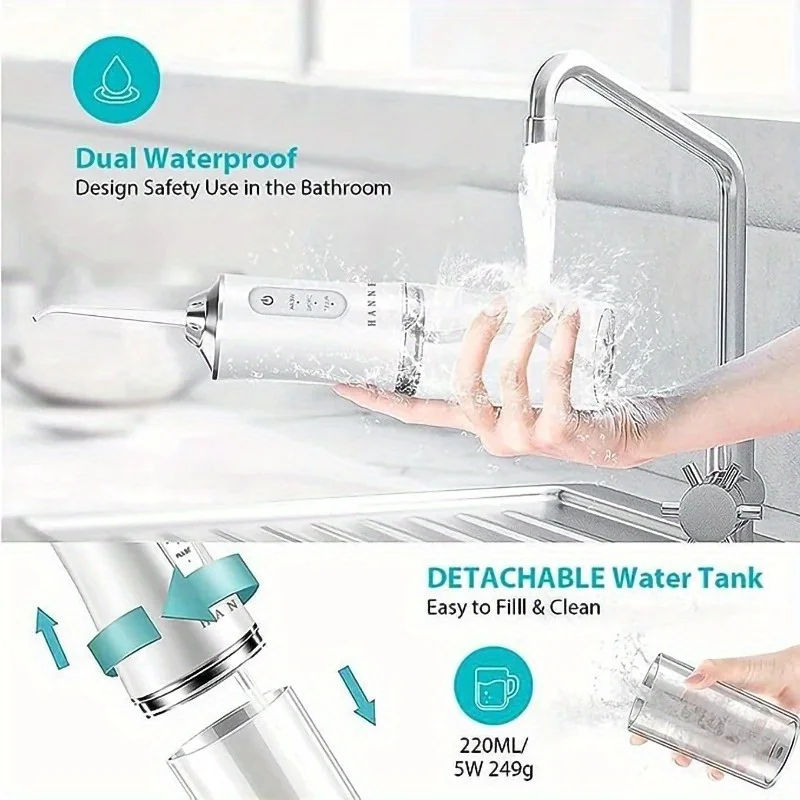
Remove the water tank from the device and fill it with lukewarm water or part mouthwash. Reattach the tank securely to the unit.
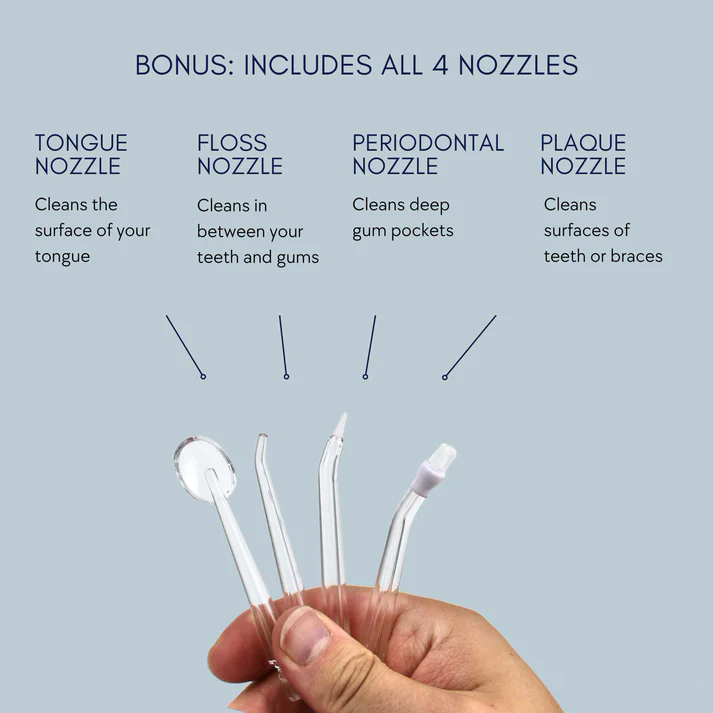
2. Choose a nozzle
Select the desired nozzle and attach it to the handle. The nozzle should click into place.
3. Adjust Pressure Setting
Start with the lowest pressure setting, especially if you are new to water flossing or have sensitive gums. Gradually increase the pressure as you get more comfortable.
4. Begin flossing
Lean over the sink and place the nozzle tip in your mouth. Close your lips slightly to prevent splashing but allow water to flow freely out of your mouth.
The reasons why we and our customers love The Water Flosser over traditional floss.
The Water Flosser uses a combination of water pressure and pulsation to clean between teeth and below the gumline effectively.
Studies have shown that water flossers can remove plaque biofilm and reduce gingivitis even more efficiently than traditional string floss. The device works by directing a stream of pressurized water through a specialized nozzle, which dislodges food particles and bacteria from hard-to-reach areas.
1. Fill the Reservoir: Remove the water tank from the device and fill it with lukewarm water or part mouthwash. Reattach the tank securely to the unit.
2. Choose a Nozzle: Select the desired nozzle and attach it to the handle. The nozzle should click into place.
3. Adjust Pressure Setting: Start with the lowest pressure setting, especially if you are new to water flossing or have sensitive gums. Gradually increase the pressure as you get more comfortable.
3. Position the Nozzle: Lean over the sink and place the nozzle tip in your mouth. Close your lips slightly to prevent splashing but allow water to flow freely out of your mouth.
4. Begin Flossing: Turn the device on and aim the water jet at your gumline and between your teeth. Move systematically from one tooth to the next, pausing briefly at each space to ensure thorough cleaning.
5. Clean and Store: Once finished, empty any remaining water from the tank and detach the nozzle for cleaning. Dry the device and store it in a clean, dry place.
Reviews
There are no reviews yet.